This is default featured slide 1 title

Go to Blogger edit html and find these sentences.Now replace these sentences with your own descriptions.

This is default featured slide 2 title

Go to Blogger edit html and find these sentences.Now replace these sentences with your own descriptions.

This is default featured slide 3 title

Go to Blogger edit html and find these sentences.Now replace these sentences with your own descriptions.

This is default featured slide 4 title

Go to Blogger edit html and find these sentences.Now replace these sentences with your own descriptions.

This is default featured slide 5 title

Go to Blogger edit html and find these sentences.Now replace these sentences with your own descriptions.

Kamis, 01 November 2012

Cara menginstal adobe after effect

  1. Pertama matikan semua program yang sedang berjalan. Buka folder setup>adobe cs4. Klik setup sehingga muncul tampialn seperti ini
  2. Setelah proses di atas selesai, akan muncul tampilan pengisian serial number After Effect, pilih versi trial saja kemudian klik next. Lihat Gambar
  3. Selanjutnya klik accept pada layar pernyataan license. untuk lebih jelas lihat gambar
  4. Tampilan berikutnya adalah pemilihan program yang akan diikutsertakan dalam proses instal After Effect. Pilih sesuai kebutuhan saja, kemudian klik instal untuk memulai instalasi. Lihat gambar
  5. Tunggu hingga proses selesai, jika sudah selesai akan muncul layar seperti di bawah ini.
  6. Klik exit untuk keluar. Selamat, anda telah berhasil menginstal Adobe After Effects. Untuk menjadikan After Effects full version,

Cara instal adobe flash cs3

  1. Double klik file installer
  1. Klik ‘Accept’ untuk menyetujui perjanjian perihal license

  1. Kalian boleh memilih komponen apa saja yang nanti ikut terinstall, jika setuju semua maka membutuhkan space 1,2GB dari hardisk Anda, kalau tidak ingin menyertakan komponen lain, hilangkan tanda ceklist nya…kemudian Next.
  1. Tentukan lokasi untuk menyimpan file installan, disini di C: kemudian… Next.

  1. Klik Install>
  1. Akan terlihat tampilan progress instalasi.
  1. Setelah instalasi, program akan meminta restart…pilih ‘Finish & Restart’
  1. Setelah restart, buka ‘Adobe Flash CS3 Professional’ di start menu.
Saat tampilan terbuka ada pilihan registrasi..pilih ‘I have a serial number for this product’ jika kalian sudah punya serialnya atau ‘I want to try….’ Jika ingin mencoba menikmati terial 30hari.
  1. Selamat…Adobe Flash CS3 Professional telah terinstal.

CARA INSTALASI ADOBE PREMIER


1. Masukkan CD Installer Adobe Premiere Pro ke dalam drive CD‐ROM. Lalu masuk ke CD/DVD Drive.
2. Double klik SETUP.
3. Piliih bahasa yang akan digunakan dalam proses instalasi, pada pilihan select the Language, biarkan pilihan pada US English, kemudian tekan tombol OK.

4. Klik dialog End User License Agreement akan ditampilkan. Klik tombol Accept untuk melanjutkan proses instalasi.
5. Setelah akan munculkotak dialog pilihan instalasi. Klik Install Adobe Premier Pro untuk menginstalisasi adobe premier pro.

6. Selanjutnya akan tampil Adobe Premier Pro Setup, kotak dialog ini menginformasikan bahwa Adobe Premier Pro akan diinstal. Klik tombol Next.
7. Setelah itu akan tampil kotak dialog Select Language. Pilih bahasa US English yang akan digunakan pada proses instalasi,kemudian klik tombol Next untuk melanjutkan.
8. Selanjutnya akan tampil kotak dialog Software License Agrement, klik tombol Yes.

9. Kotak dialog User Information akan ditampikan. Isi Title, First Name, Last (family) name, Company dan Serial Nunber. Setela terisisemua, klik tombol Next untuk melanjutkan.
10. Kemudian tampil kotak dialog Choose DetinationLocation. Pilih tempat instalasi untuk file Adobe Premier Pro. Klik tombol Browse untuk memilih tempat instalasi. Apabila setuju dengan penyimpanan default, maka bisa langsung klik tombol Next untuk melanjutkan.

11. Setelah itu akan tampil kotak dialog Start copying File. Kemudian klik Next untuk melanjutkan.
12. Program instalasi akan di kopi seluruhnya. Proses ini ditandai degan progress bar. Tunggu hingga proses instalasi selesai.

13. Setelah selesai akan ditampilkan kotak dialog yangmemberikan 2 pilihan yaitu, Yes I want to restart my computer now dan No, I will restart my computer later. Pilih pilihan pertama dan klik tombol Finish unyuk mengakhiri proses instalasi. Komputer akan direstart secara otomatis.

Cara Instal dan Adobe Audition 3


1. Install Adobe Audition 3

2. Ekstrak file crack

3. Install patch di folder "Audition 3.0.1 Build 8347 Patch". Klik aja "Next" sampai instalasi selesai

4. Ekstrak file "Adobe Audition 3 Keygen". Buka foldernya. Double klik file Registration.reg . Nanti ada muncul kotak pertanyaan. Klik aja "Yes" dan "Ok"

5. Jalankan program Adobe Audition 3. Jalankan juga keygen yang ada di folder tempat crack tadi.

6. Pas muncul permintaan aktivasi dari Adobe Audition, pilih "Change Serial"

7. Klik tombol serial number pada keygen dan isi key-nya ke dalam kotak aktivasi tadi

8. Selanjutnya, pilih "Phone Activation" dan copy-paste Activation Code yang muncul ke dalam kotak Activation Number pada keygen

9. T'rus, klik tombol Authorization Code pada keygen dan copy-paste uthorization Code yang muncul ke dalam kotak aktivasi Adobe Audition tadi

10. Klik Ok. Adobe Audition 3 sudah sepenuhnya milik Anda
Jadwal Liga Dunia Indonesia Inggris Itali Spanyol Hari ini Mau Pasang Iklan Murah Jika Artikel Diatas Anda suka dan Ingin Menyimpan halaman ini silahkan klik ctrl + D untuk membookmark atau ctrl + S untuk save halaman ini


Selasa, 30 Oktober 2012

Menginstal 3Dmax

1. Masukan CD program 3Ds MAX
2. kemudian akan muncul auto run, anda pilih menu 3Ds MAX instal
3. non aktifkan ceklist yang sekiranya tidak anda perlukan dalam program 3Ds MAX seperti 3Ds MAX Sample dan lain-lain
4. setalh itu anda tekan tombol instal, aktifkan cek list accept… next, ikuti perintah seperti ketika anda mengisstal program-program biasa
5. setelah selesai menginstal buka program 3Ds MAX, kemudian akan muncul kotak dialog "3Ds MAX Product Authorization", anda takn tombol next
6. akan muncul kotak dialog "register today" aktifkan cek list Enter authorization code (have an authorization code) kemudian tekan next
7. anda tentukan negara anda, kemudian anda cari tulisan bertuliskan Request code, kemudian anda copy anak Request code tersebut
8. caranya blok angka tersebut kemudian tekan Ctrl+C
9. kemudian anda buka kembali CD program 3Ds MAX, kemudian anda cari folder Crack kemudian klik 2x, cari file bertuliskan 3Ds max 6 keygen, lalu klik 2x
10. akan muncul kotak dialog, anda paste angka reques code tadi ke dalam kotak dialog tersebut
11. kemudian anda tekan tombol generate, maka anakn muncul angka authorized code, anda copy angka tersebut paste kedalam kotak dialog 3Ds MAX Product Authorization, anda tekan next kemudian finish

Minggu, 28 Oktober 2012

LANGKAH-LANGKAH MENGINSTAL AVIRA

Langkah-langkah mengistall Avira Antivir Personal sebagai berikut:

1. Double click pada shortcut Avira
2. Tekan continue untuk setuju dengan pernyataan mengenai antivirus Avira.
3.Tunggu beberapa saat hingga proses instalasi selasai.
4. Selanjutnya tekan Next.
5.Muncul tampilan kemudian tekan Nekt lagi
6.Centang “I accept the terms of the licence agreements” dan lanjutkan dengan menekan Next.
7. Kemudian centang kembali “I accept that Avira Antivir Personal – Free Antivirus for private use only …….” dan lanjutkan pula dengan menekan Next.
8. Pilih Complete untuk instalasi secara lengkap atau Custom untuk mengatur sendiri intalasi. Next….
9.Muncul tampilan registrasi kemudian hilangkan semua tanda. Next….
10. Muncul tampilan setup status tunggu sampai proses instalasi selesai.
11. Proses pengcopyan file sedang berlangsung.
12.Tekan Finish.
13.Kemudian tekan nekt.
14.muncul tampilan klik nekt
15.Muncul tampilan select extended......,tekan nekt
16.Pilih normal start,klik nekt
17.Muncul tampilan system scan,klik nekt
18.kemudian klik finish.

langkah-langkah Menginstal Office 2007

Berikut adalah langkah-langkah bagaimana menginstal Office 2007 :
  • Pertama masukkan Cd instalasi Microsoft Office 2007 ke CD-ROM, tapi perlu kita ketahui juga klo kita mau menginstal Office 2007 ini kita harus melihat spesifikasi komputer yang kita gunakan. dalam hal ini kita menggunakan minimal Windows Xp Sp2 jadi kalau di komputer kita terinstall Windows Xp Sp 1 Maka kita tidak akan dapat menginstall Office 2007 ini.Selanjutnya akan muncul tampilan seperti berikut :
Ofice 2007 Tahap 1
  • Masukkan Product Key / Serial Number pada kolom yang sudah di sediakan, apabila Product Key yang kita masukkan benar maka akan muncul tanda centang di sebelah kanan, selanjutnya tekan Continue.
Office 2007 tahap 2


  • Setelah itu Kita akan dihadapkan pada tampilan "Choose the installation you want" disini kita dapat memilih :
  1. Install Now : Kalau kita memilih pilihan ini maka kita akan menginstall paket defaultnya Office 2007 tanpa bisa memilih paket yang kita inginkan.
  2. Customize : Kalau kita memilih pilihan ini maka kita dapat memilih paket software apa saja yang akan kita install.

Office 2007 tahap 4


  • Setelah kita pilih instal maka akan muncul layar berikut, trus kita beri centang pada kotak kecil itu.lalu klik continue
Office 2007 tahap 4


  • Biarkan Proses Instalasi berjalan, tunggulah beberapa menit. Semakin tinggi spesifikasi komputer yang kita gunakan maka semakin cepat pula proses instalasi.
Office 2007 tahap 5
  • Instalasi telah selesai dan selanjutnya kita tekan tombol Close. Aplikasi Microsoft Office sudah bisa kita gunakan. Untuk membukanya kita lewat Start --> All Program --> Cari Microsoft Office --> dan pilih program Office yang akan kita jalankan, misalnya Word, Exell, atau Power Point atau yang laen nx.
Office 2007 tahap 6

Cara menginstal Corel Draw X5


1.Seperti biasa Doble klik pada file setup trus next.

2.Pilih "I have a Serial Number" Lalu buka aplikasi key generator dan klik serial number,Masuk kan serial number hasil generate dari aplikasi keygenerator.

3.Klik pada typical Installation.
4.Tunggu Sampai Selesai sampai "the setup has been succesful" seperti gambar di bawah.Dan Klik finish untuk menutup.
5.Buka Corel draw x5 yang ada pada starmenu icon.nanti akan muncul seperti gambar di bawah  klik pada "Other Activation Options".
 6.Trus akan terbuka halaman selanjut nya  klik Pada "Phone corel".
7.Masuk kan Instalasi kode dari corel ke key generator.
8.klik "activation code" Masuk kan Activation code ke corel draw x5 trus klik continue.
9.Kalau anda sukses corel draw akan tampak seperti gambar di bawah.

cara menginstal adobe photos shopcs4 + patch

Langkah demi langkah dalam mempatch / membuat adobe photoshop cs 4 menjadi terregister by cyber newbie.

1. Copy Semua file dan folder dari CD ke dalam drive partisi komputer (misalnya copy ke C:CS4)
2. Klik 2 kali file setup
3. Program akan mengecek Sistem Profil, dan terbuka jendela seperti dibawah ini, masukkan No serial : 1330-1999-5218-7158-8770-9550 , dan Klik Next
4. Klik Accept:
5. Pilih Easy Install dan Klik Install
6. Proses Instalasi, tunggu sampai selesai
7. Akan Muncul halaman registrasi, Klik Register Later
8 Ucapan Terimakasih, Klik EXIT
9. Buka folder crack, dan copy file adobe.photoshop.cs4-nope (klik kanan file adobe.photoshop.cs4-nope dan pilih Copy )
10. Paste ke folder C:Program FilesAdobeAdobe Photoshop CS4
11. Klik 2 kali file adobe.photoshop.cs4-nope, maka akan terbuka jendela seperti dibawah ini, Klik PATCH.

langkah-langkah menginstal windows 7

Windows 7 RC (Release Candidate) Installation on Virtual PC

Open Virtual PC Console

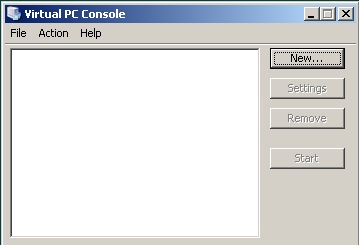
Click the New… button.
This will start the New Virtual Machine Wizard.

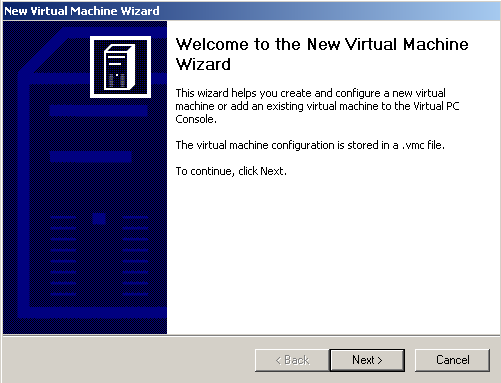
Click Next to continue.
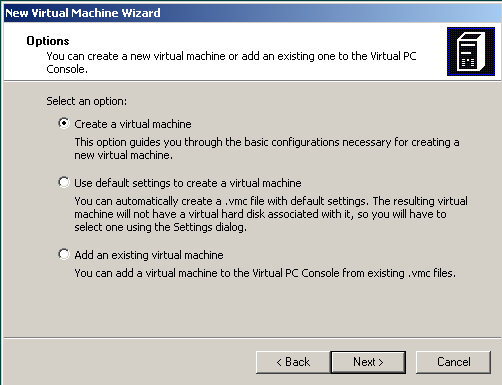
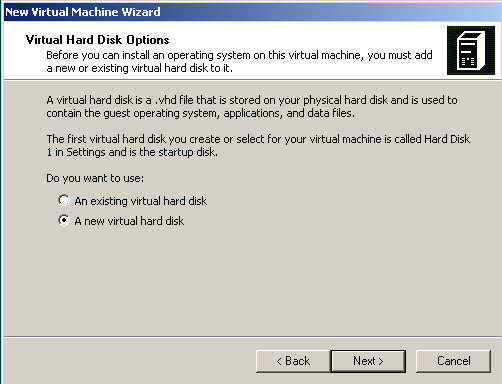
The next step in the Virtual Machine Wizard is identifiying whether a new virtual machine is going to be created or an existing virtual machine is going to be added to the Virtual PC Console.
Since we are going to create a new virtual pc for the Windows 7 installation, select the first option and let the wizard guide through the basic configuration necessary for the creation of the new Win7 virtual machine.


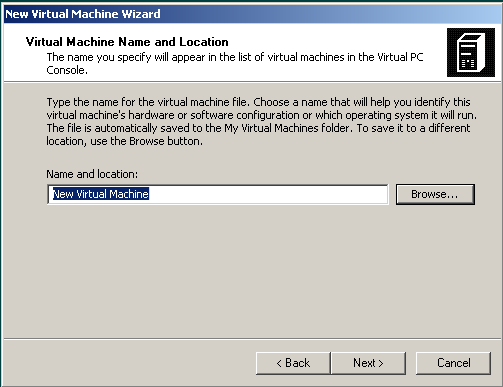
Click the Browse… button to select the place of the virtual machine files and set the name of the new virtual machine. The name of the new Widows 7 Virtual Machine will be listed among the others on the Virtual PC Console.
The name of the virtual machine will also be the name of the virtual machine configuration files name. And by default this .vmc file is going to be stored to the My Virtual Macines folder. You can alter the saved folder like me.
I keep my Virtual PC machines and configuration files in a specific seperate folder on root drive C:\VPC
And I created a new folder for the Windows 7 RC edition. I named this Windows 7 installation as Windows7RC as seen on the below wizard screen.

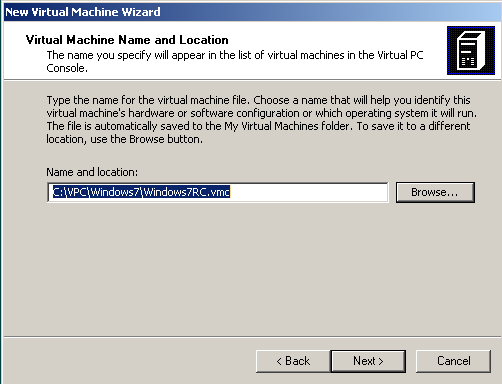
Click on Next to continue.
The Operating System wizard page is where you can identify which operating system you want to install on the virtual machine. This selection will set preferred values of Memory, Virtual disk space, etc. But not the OS itself. We will install the operating systen Windows 7 later using the installation media.
Since Windows 7 is not listed in the Operating system dropdown combo I preferred to select Windows Vista as the most recent operating system among others. You can select “Other” OS as well.

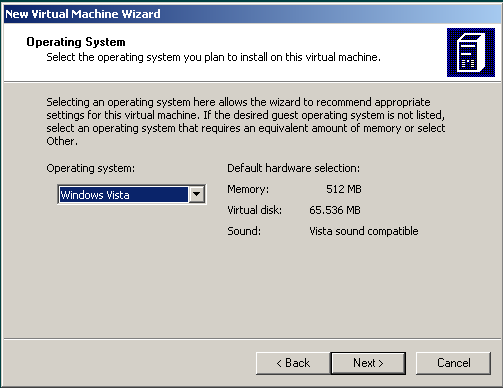
Click on Next for the next step on the wizard.
You can adjust the Memory that will be consumed and used by the new virtual machine on this screen. I adjust more than the recommended RAM amount (512 MB). I preferred to spare 1000 MB of RAM as resource from my physical RAM for the new Windows 7 virtual machine.

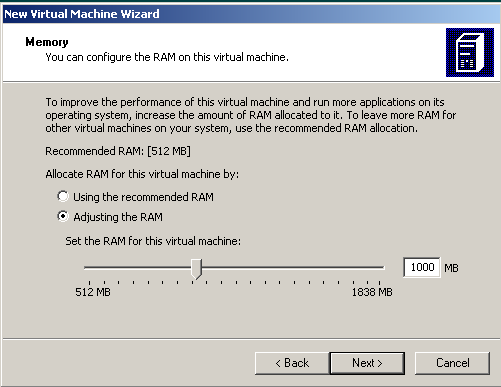
You can select the recommended RAM as well for the specified OS you want to install.
I want to create a new .vhd file a new virtual hard disk for the new Windows 7 RC (Release Candidate) edition.

The below default configuration is good for me. That is the place where I keep my VPC installations. And the virtual hard disk size is approximately 64 GB. That is enough I believe if you will just test the new Windows 7 edition.

Do not forget that the 65536 MB you have defined here is not actually used on the physical hard disk. But when you are using the Windows 7 within the Virtual PC, you will see the capacity of the disk drive as 65536 MB.
Last controls for the take off! Click Finish button to complete the new virtual machine wizard.

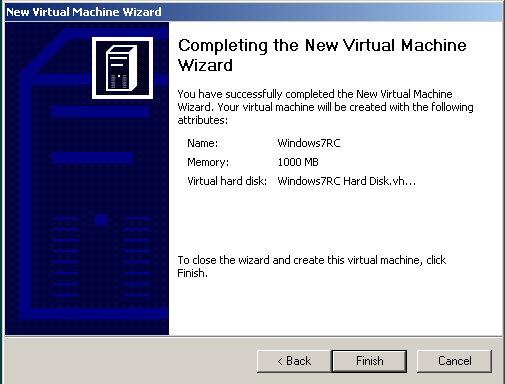
The completed virtual machine is now listed on the Virtual PC Console and we are now ready to start the Windows7RC virtual machine. After starting the Windows7RC virtual machine we will start installing the operating system Windows 7 Release Candidate (RC) on the virtual computer.

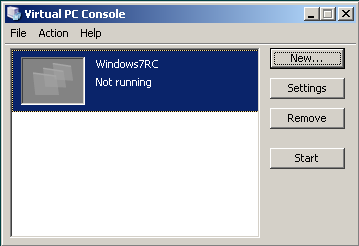
If you have the Windows 7 installation media place it on the CD/DVD drives or be sure that you have mapped the .iso file as a new drive. Then click Start button.

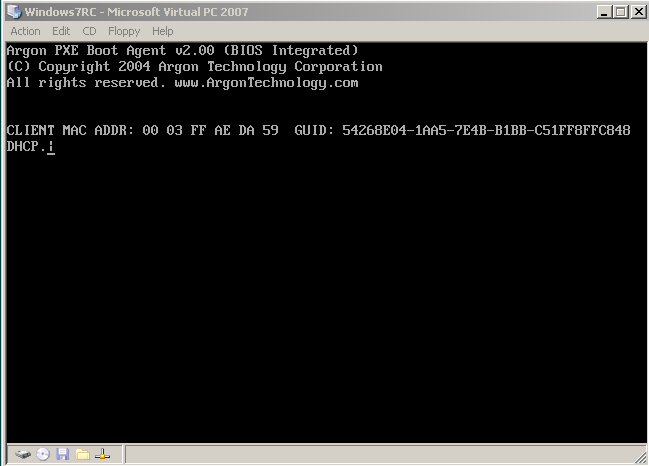
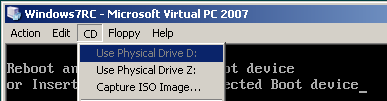
To start installation of Microsoft Windows 7 we should point to the installation media or the Windows 7 setup ISO image file. On the CD menu of the Virtual PC screen, you can select the Capture ISO Image if you have the Windows 7 setup as .iso image file. Or you can select a physical drive listed on the CD menu which includes the setup or the installation files of the Windows 7 RC.

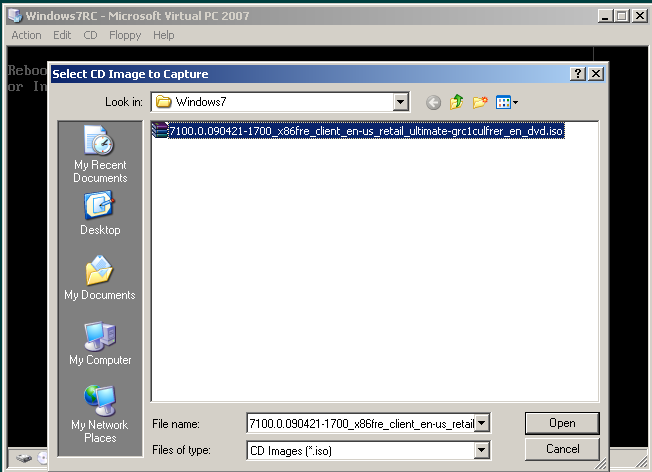
I select capturing the setup as .iso image file. Browse the folders and select the cd image .iso file as source for the Windows 7 setup.

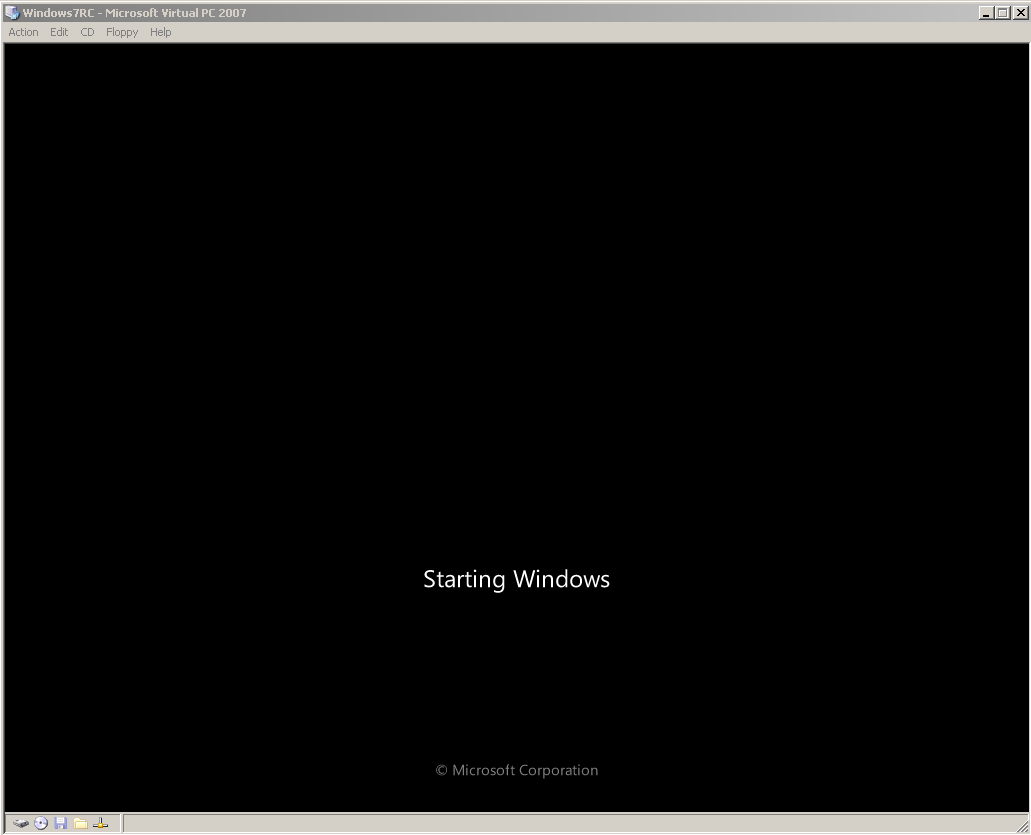
After you have selected the setup source to restart the computer, click Enter. Or select Ctrl+Alt+Del from Action menu. This will reboot your virtual machine computer. And after reboot the Windows 7 RC installation will start automatically.


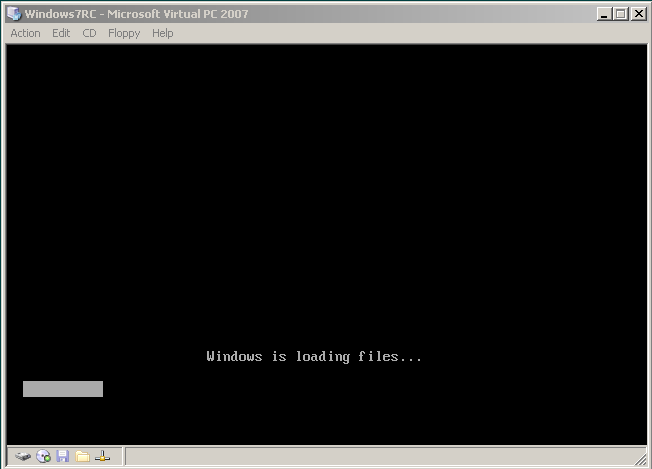
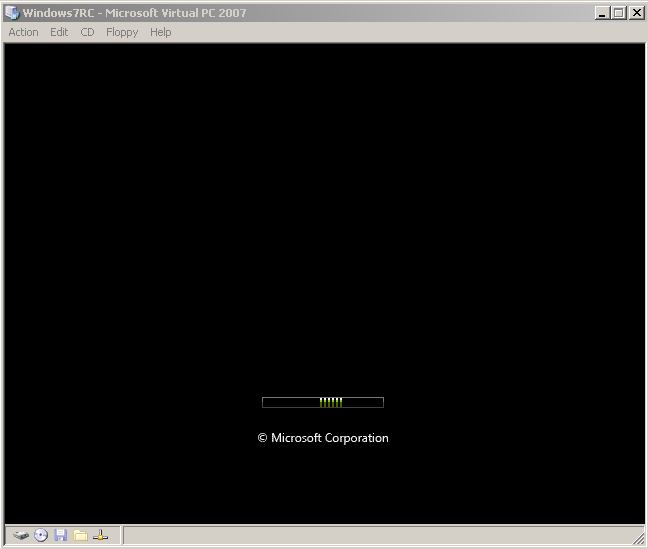
The required configuration settings will be gathered from the user beginning from the below screen.
You see the GUI has now improved with better graphichs. That is a nice feature but it was not necessary. But Microsoft has spent some time and some money on this topic to make the graphical user interface better looking with nice graphics.
Select the Windows 7 RC edition language from the available list of languages. Since different download packages are prepared for different languages for Win7 RC, there is only one language on my setup, English.


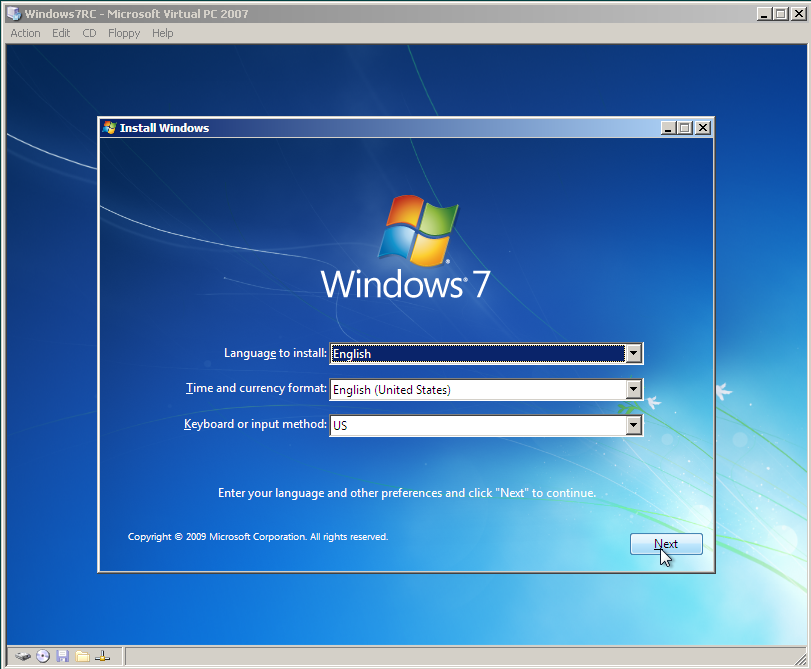
After you have selected the time and currency format, and identifying the keyboard or input method, continue installing Windows 7 with the Next button on the wizard screen.

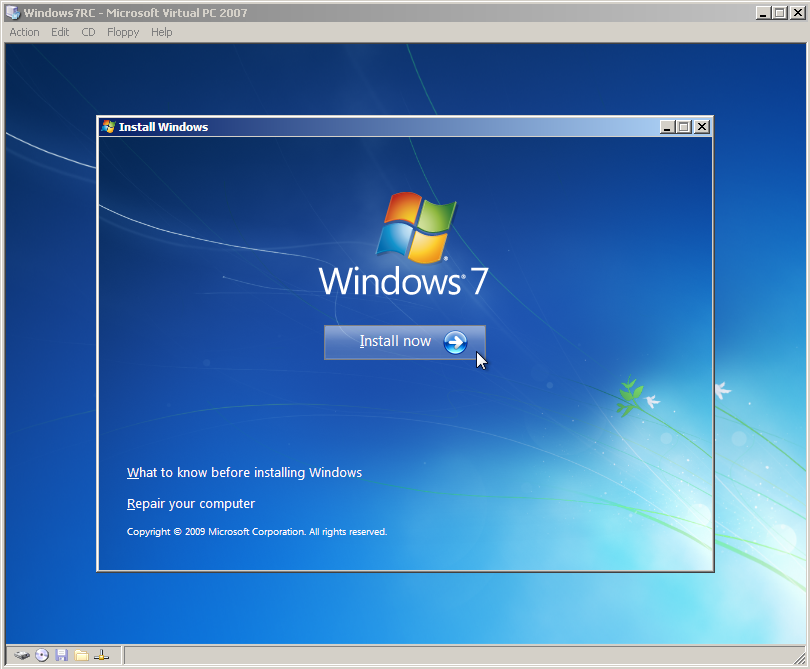
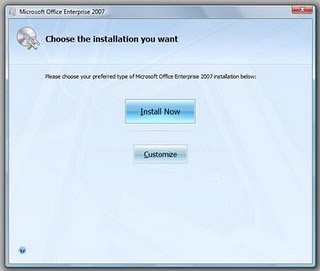
We are now ready to start installing Windows 7. Click “Install now” button to start Windows 7 installation.
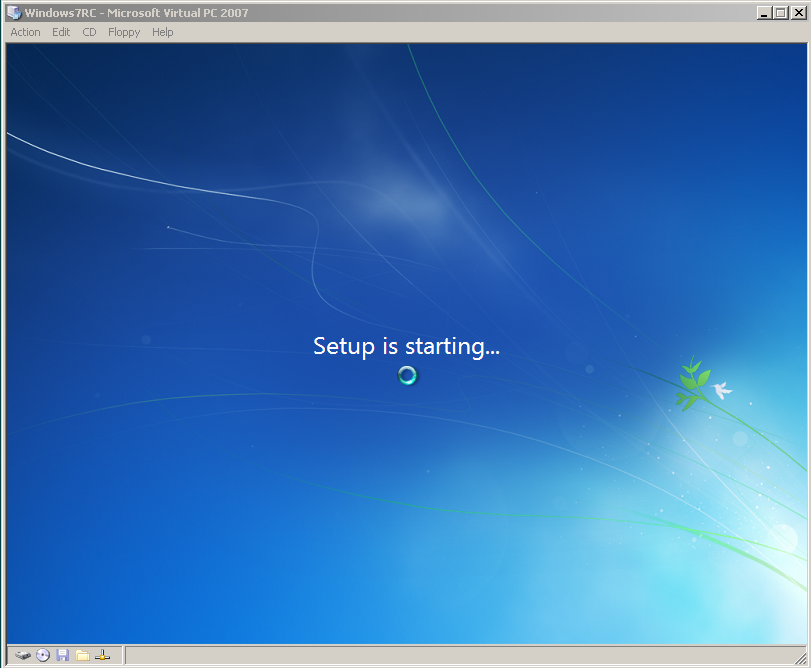
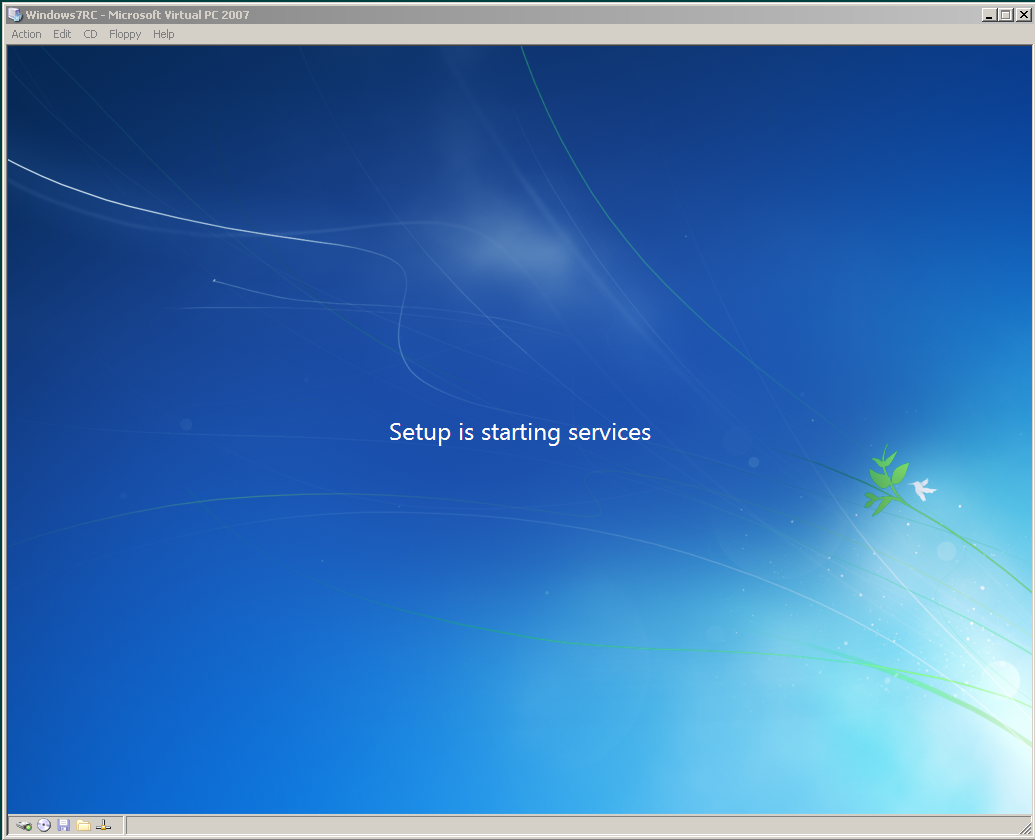
Windows 7 Setup is starting…

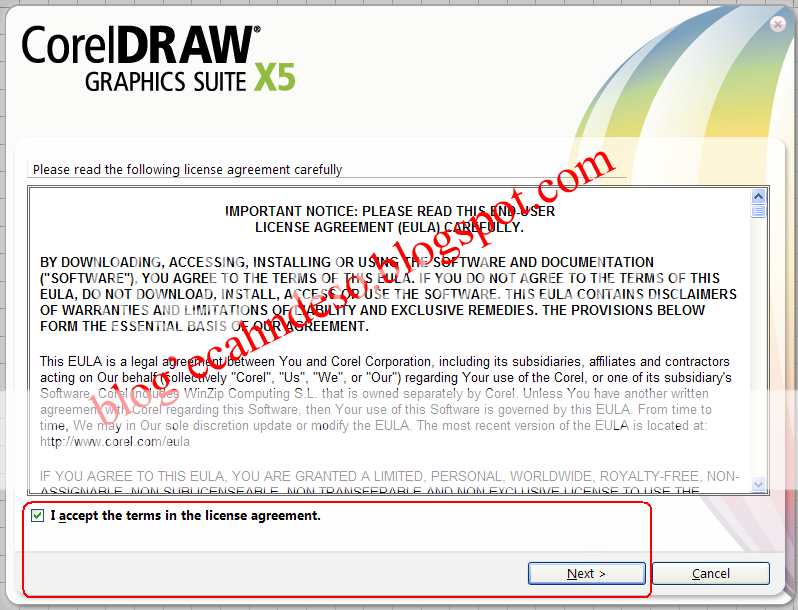
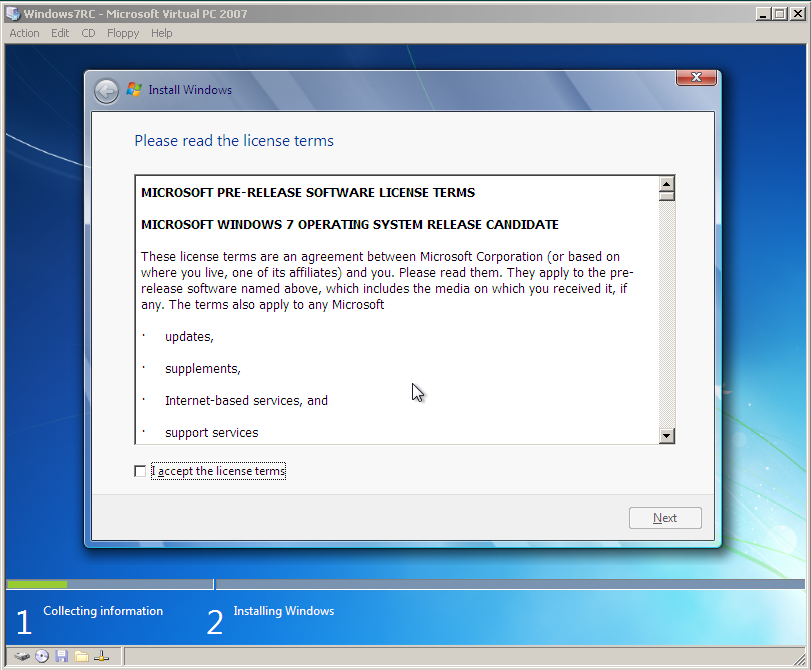
Now accept the licence terms (the EULA)

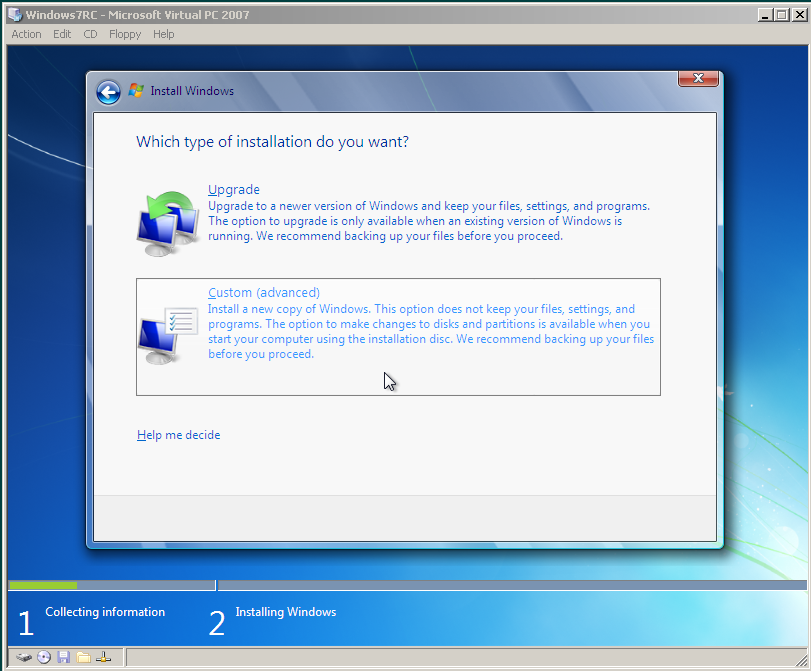
You may choose to Upgrade or proceed with a clean installation by selecting the Custom (advanced) option.

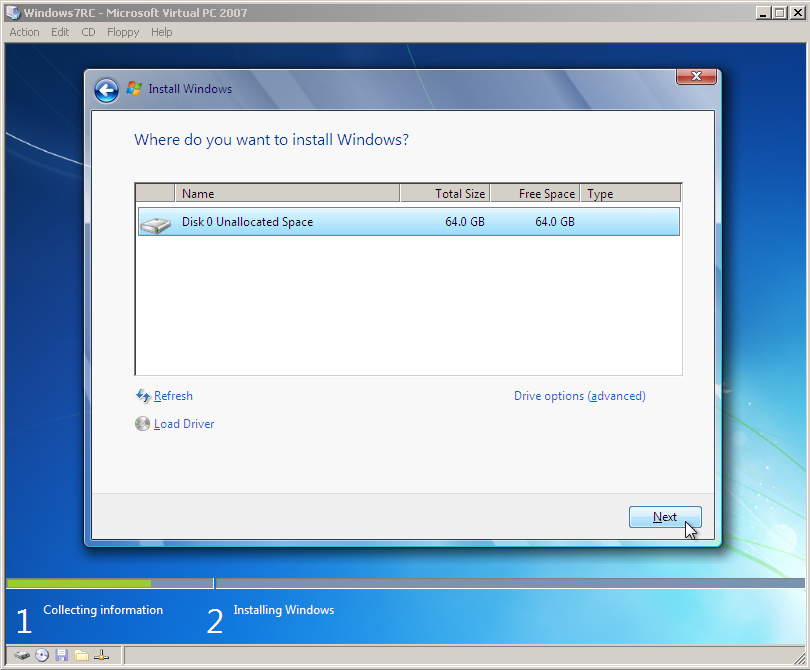
In this step, the Windows 7 installation wizard will ask you the disk partition to install Windows 7.

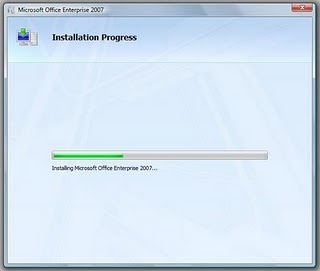
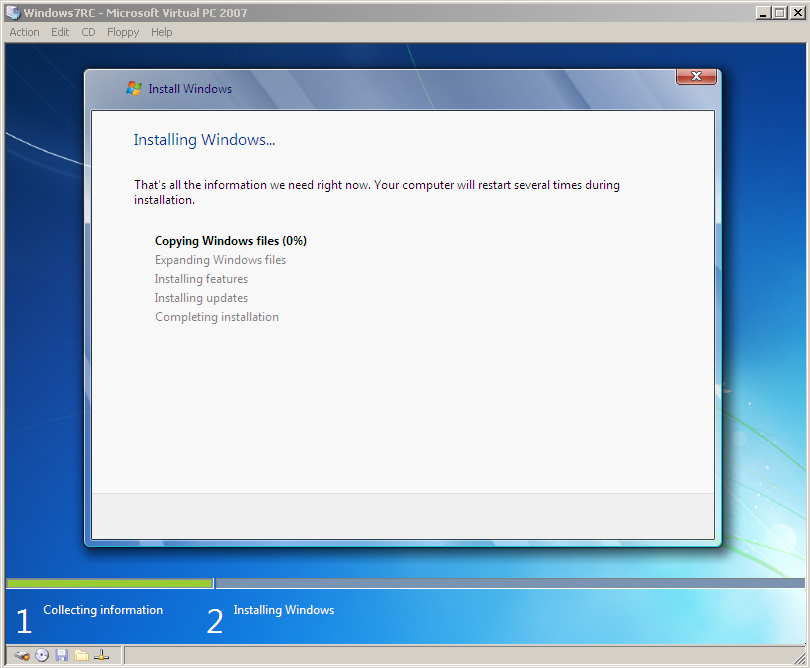
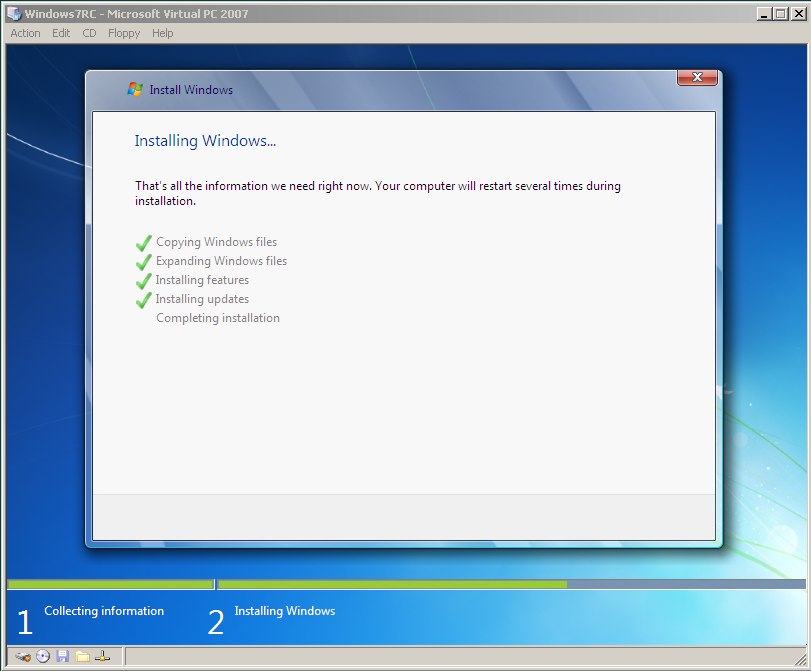
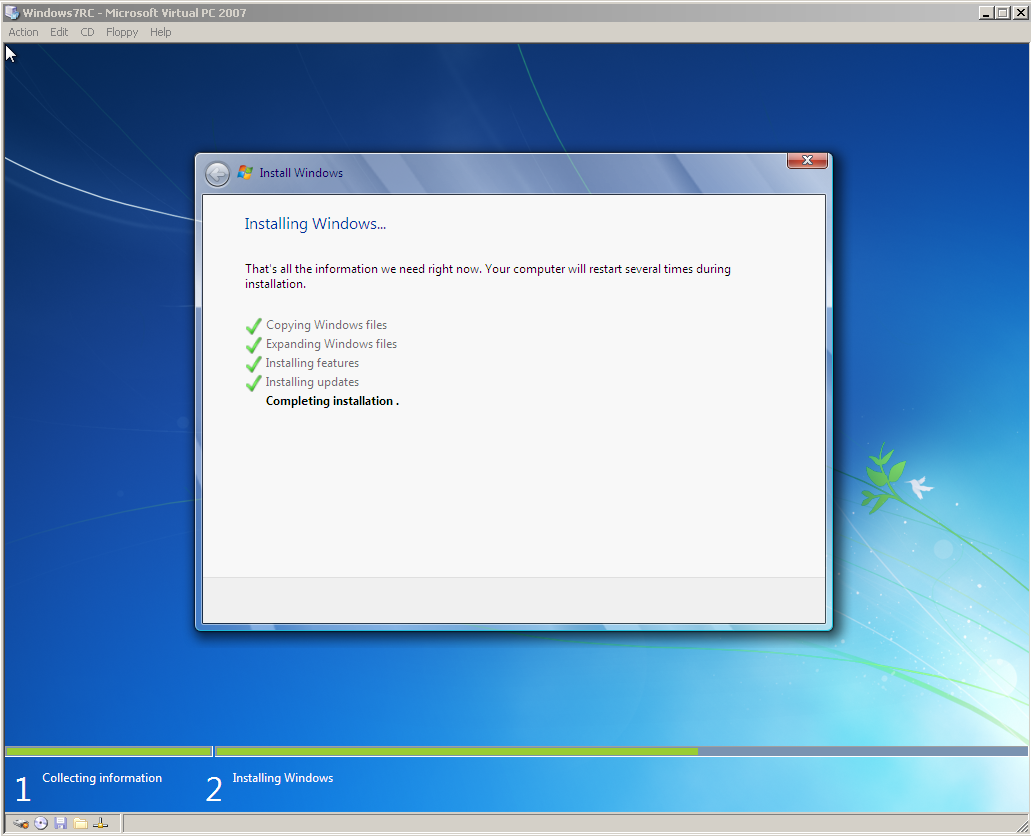
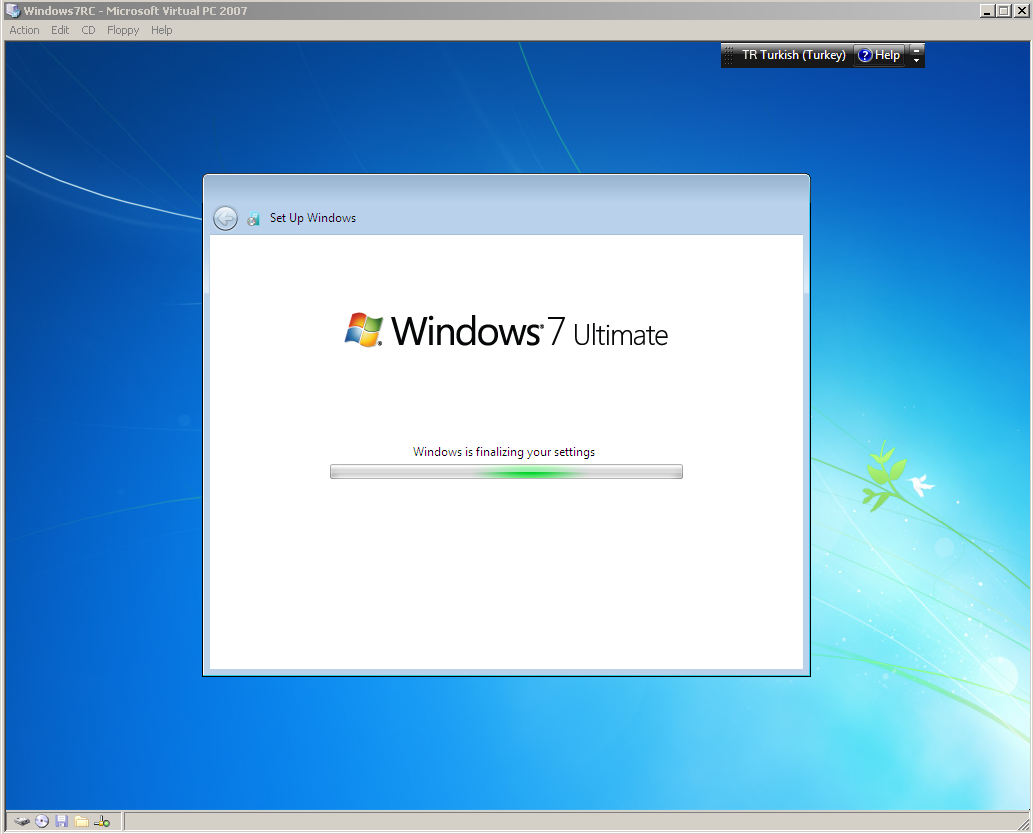
The Windows 7 installation is now starting first by copying Windows files. This step will take some time. And while proceeding the steps listed on the screen the computer will reboot a few times (I guess twice), and you are not required to interact during these steps.
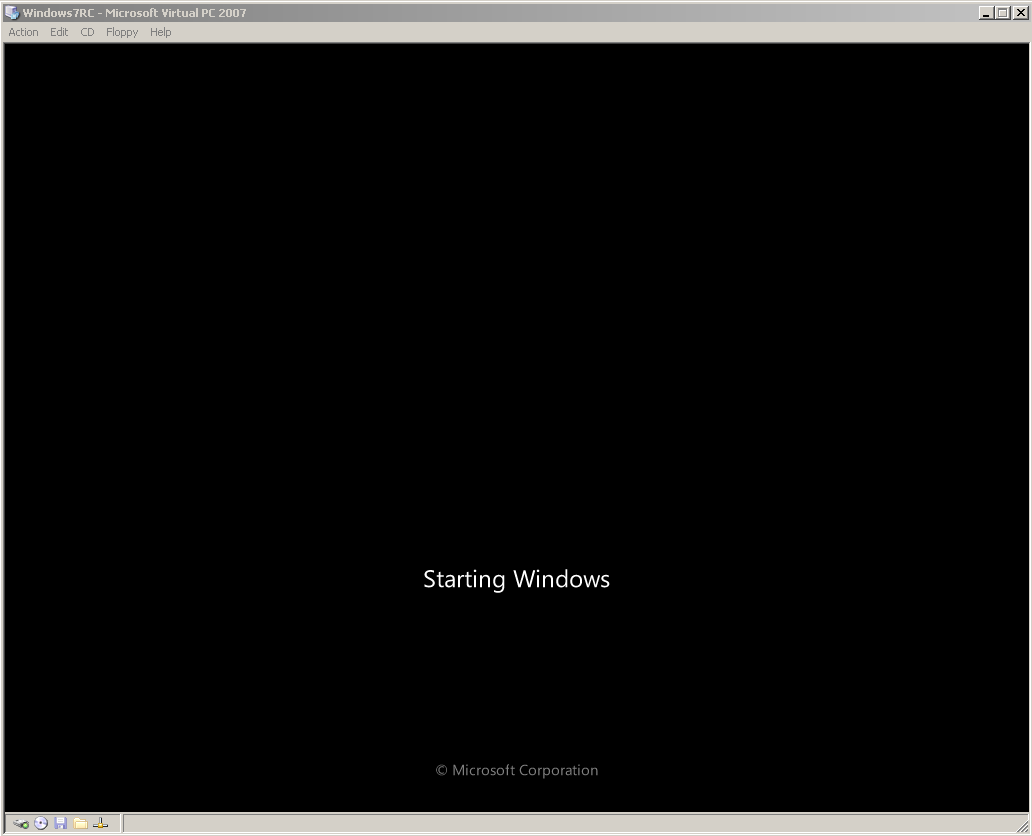
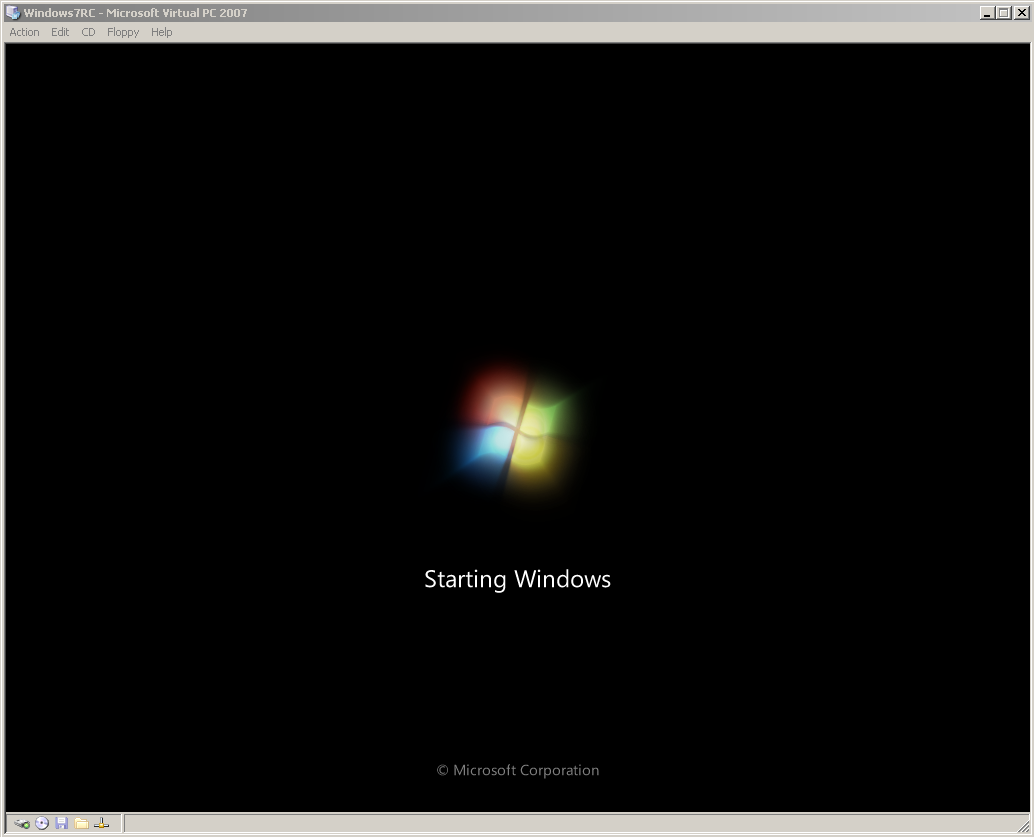
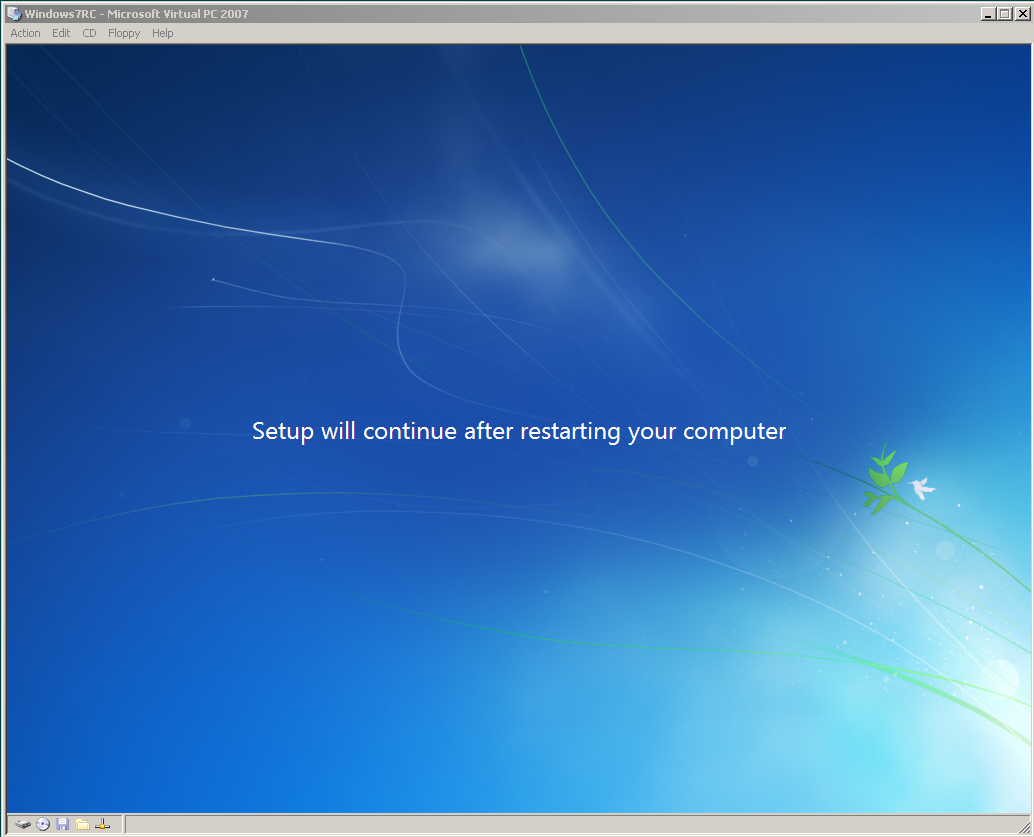


Reboot starts

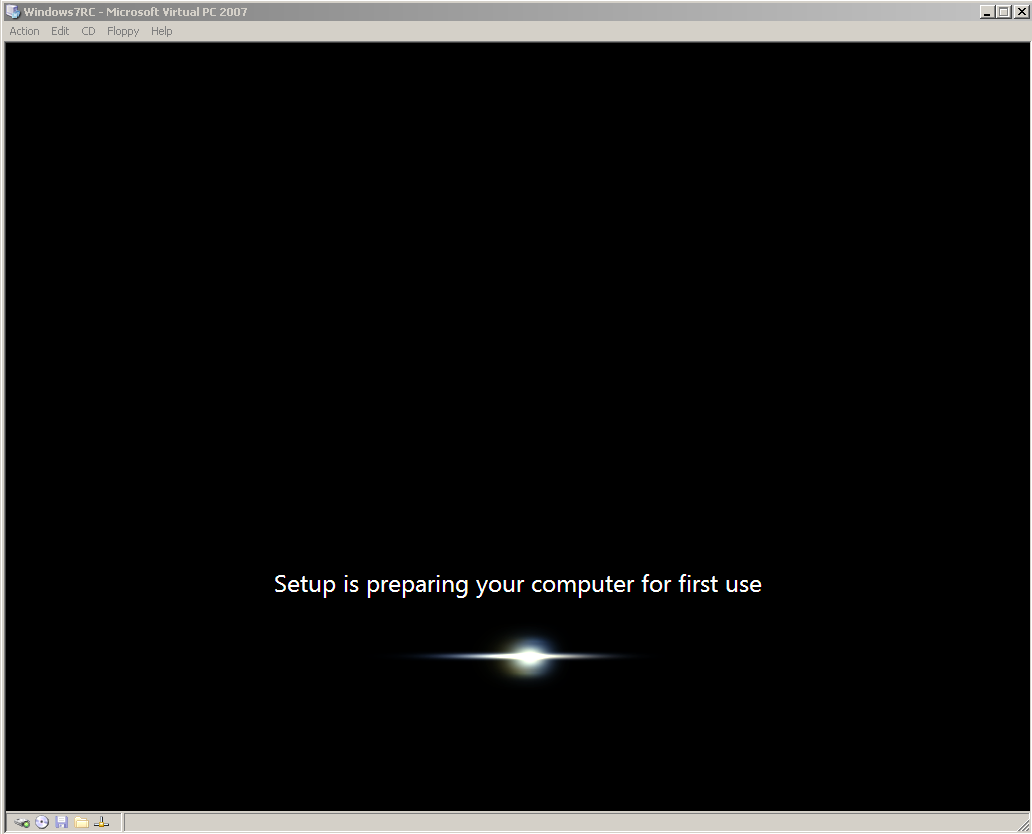
Computer is restarting after reboot.

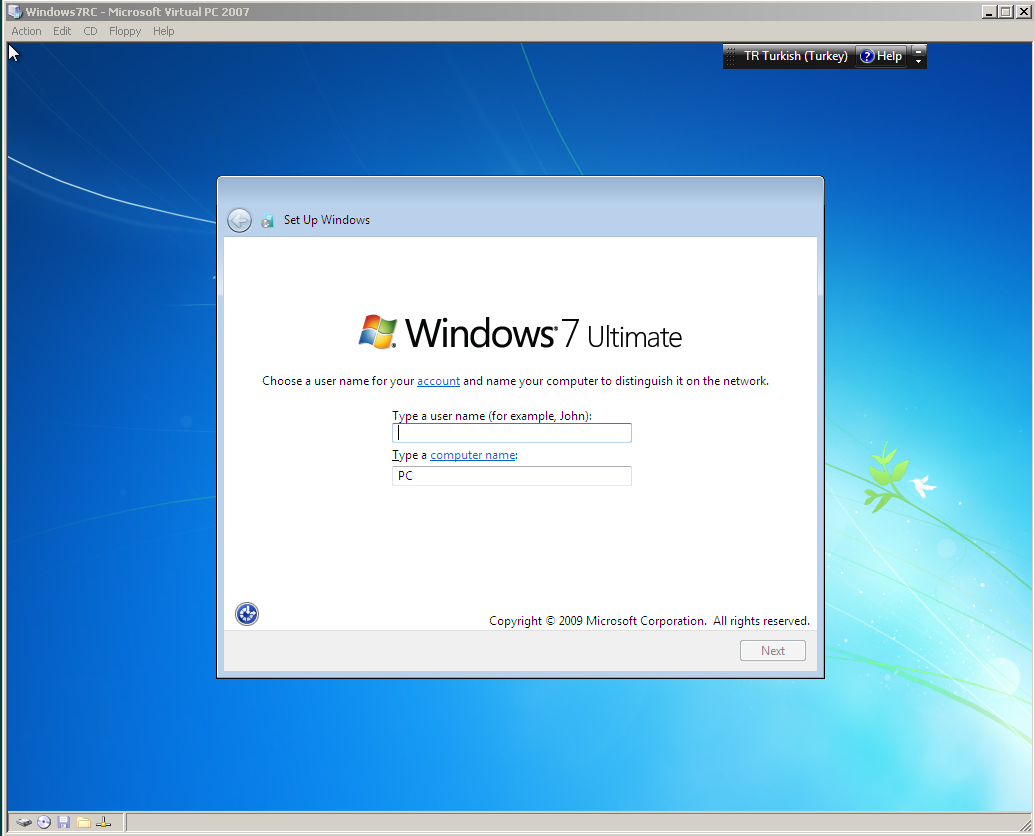
Now you are required to supply configuration parameters for your new Windows 7 machine.
First required configuration parameters are the user name and the computer name.

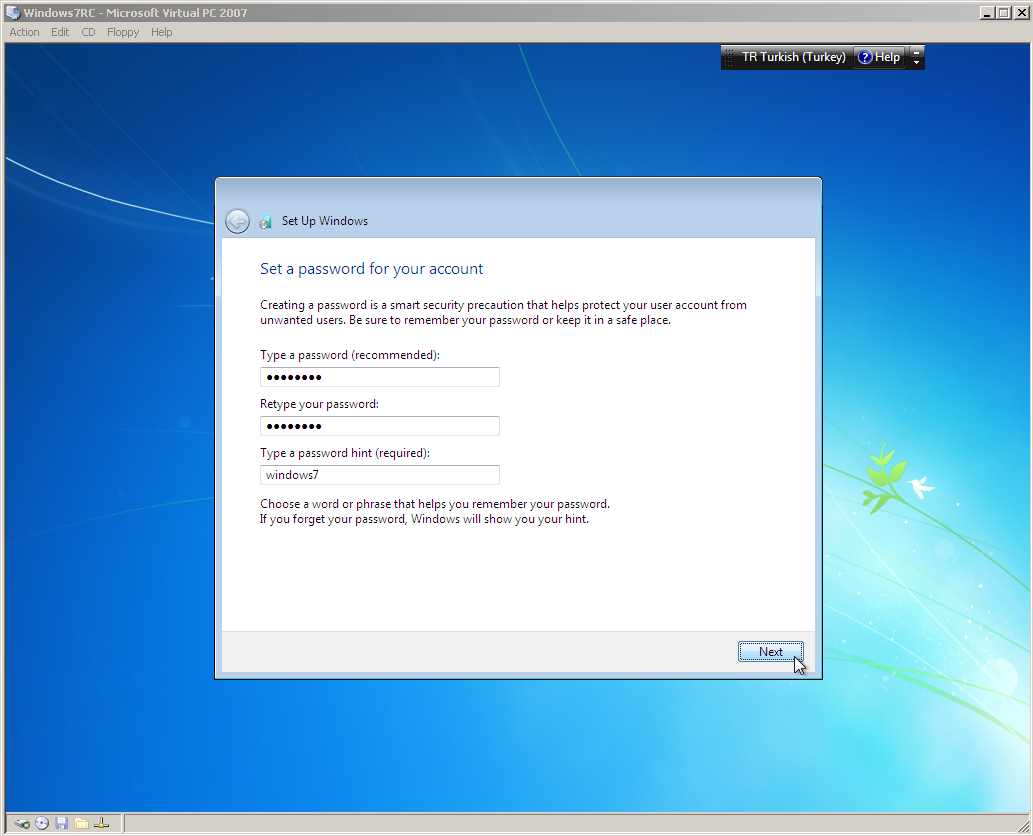
In this screen, we should set a password for the user account we have created in the previous step.

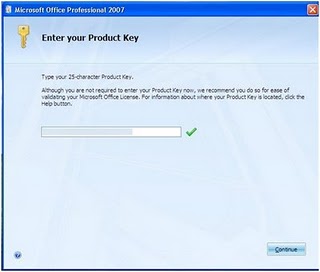
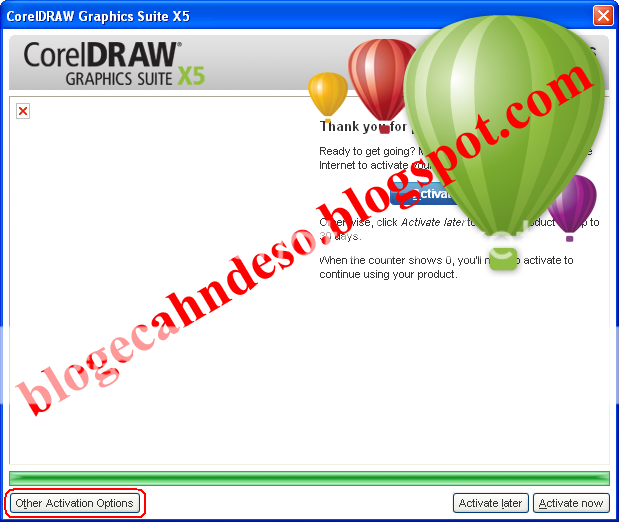
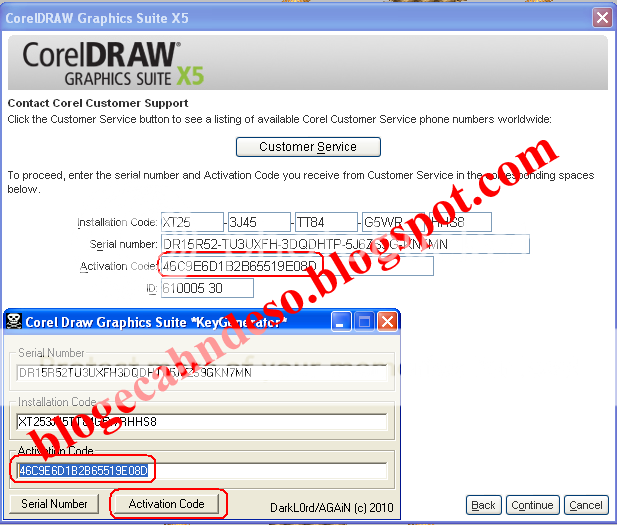
The Win7 installation wizard is now expecting the Windows product key from us.
Notice that the Next button is not disabled. We can still continue installing the Windows 7 RC without entering a product key and evaluate the new Windows 7 RC Ultimate edition.
We will not pass this screen without using and entering a Windows 7 product key and we will supply this product key later after we have finished installing and used Windows 7 for some.
By the way you can get free Windows 7 product keys for Release Candidate (RC) version from Microsoft Windows 7 official site.

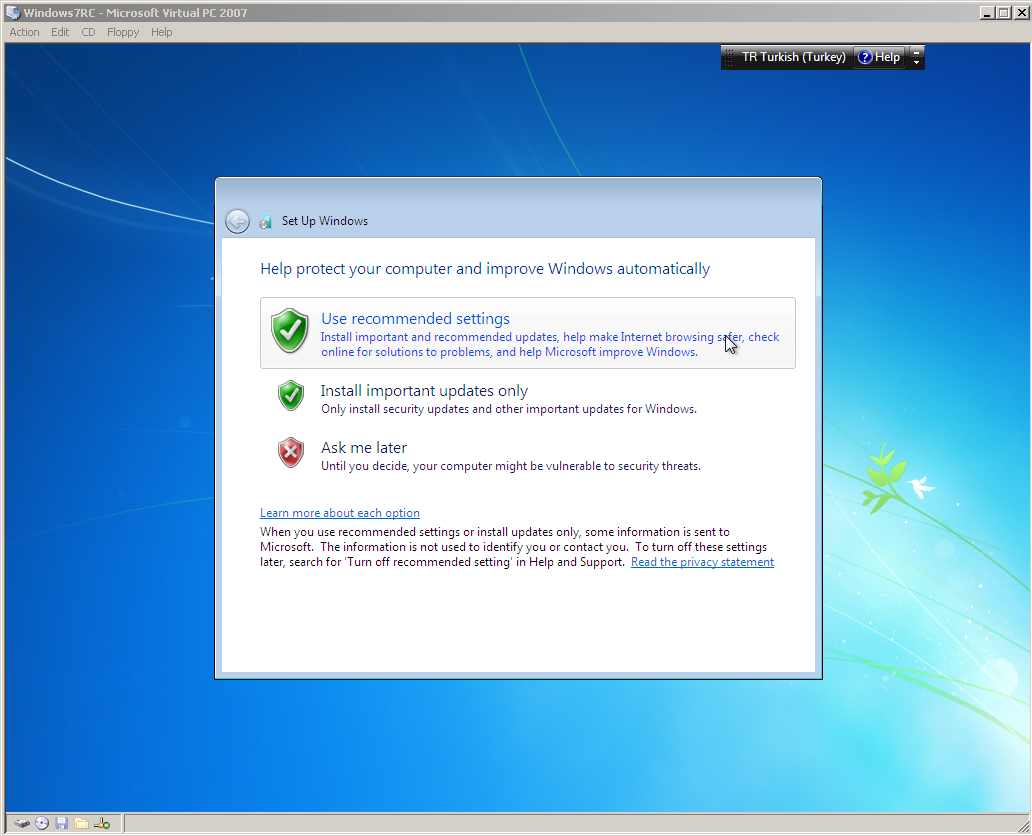
On this installation screen, you can set the Windows updates method. It is recommended to install updates automatically. But you can select the “Ask me later” option and continue installing Windows 7.

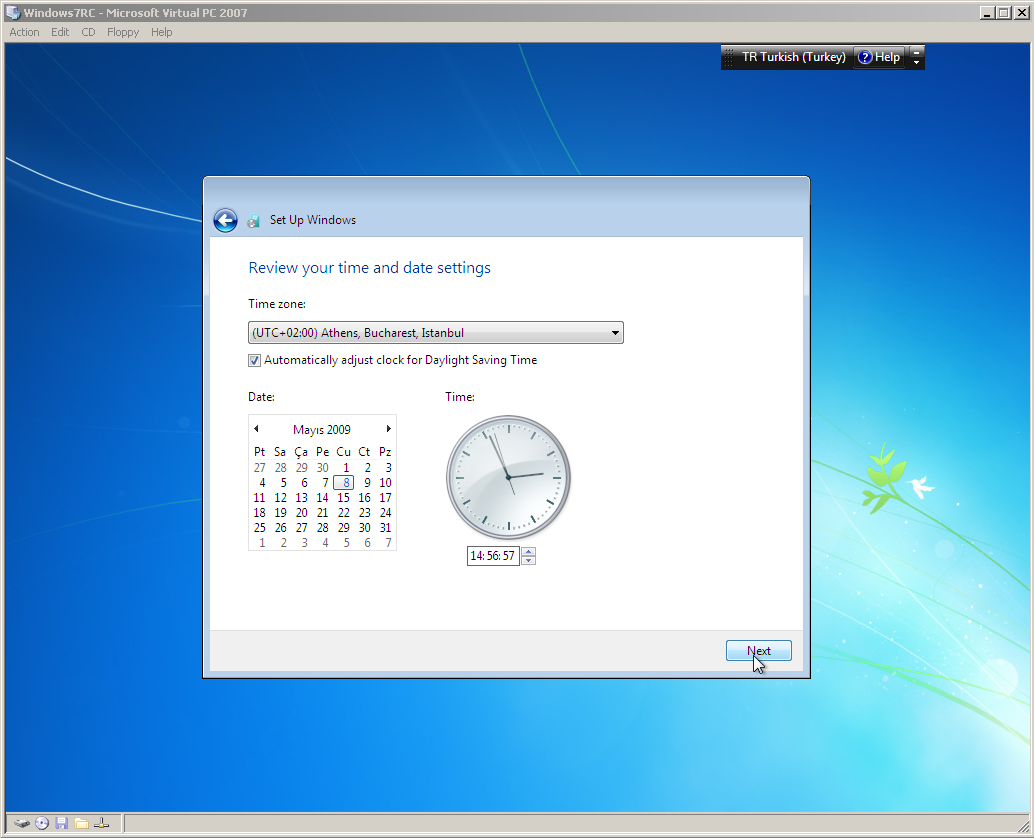
Choose your time zone and set the current date and time.

Choose from the networking options for your computer’s current location.


Now you are ready to use and evaluate Windows 7 Release Candidate (RC) Ultimate Edition.

Windows 7 articles

THIS IS FEATURED POST 1 TITLE

THIS IS FEATURED POST 1 TITLE

Lorem ipsum dolor sit amet, consectetur adipisicing elit, sed do eiusmod tempor incididunt ut labore et dolore magna aliqua. Ut enim ad minim veniam

Quas molestias excepturi
THIS IS FEATURED POST 2 TITLE

THIS IS FEATURED POST 2 TITLE

Lorem ipsum dolor sit amet, consectetur adipisicing elit, sed do eiusmod tempor incididunt ut labore et dolore magna aliqua. Ut enim ad minim veniam

Impedit quo minus id
THIS IS FEATURED POST 3 TITLE

THIS IS FEATURED POST 3 TITLE

Lorem ipsum dolor sit amet, consectetur adipisicing elit, sed do eiusmod tempor incididunt ut labore et dolore magna aliqua. Ut enim ad minim veniam

Voluptates repudiandae kon
THIS IS FEATURED POST 4 TITLE

THIS IS FEATURED POST 4 TITLE

Lorem ipsum dolor sit amet, consectetur adipisicing elit, sed do eiusmod tempor incididunt ut labore et dolore magna aliqua. Ut enim ad minim veniam

Mauris euismod rhoncus tortor